Mashaan blog
Running Machine Learning Projects on Google’s TPU Research Cloud (TRC)
Contents
- Acknowledgment
- Creating instances
- Queued resources
- Install JAX
- Install Flax and other dependencies
- Install PyTorch/XLA
- Projects Where I Used TPU Research Cloud (TRC)
Acknowledgment
Thanks to Google’s TPU Research Cloud (TRC) for making cloud TPUs available for my use. I borrowed some code from these articles:
Creating instances
When I applied for TPU Research Cloud (TRC), they sent me a list of TPU instances that qualify for TRC waiver. Here’s a list of instances alongside the console commands to create them.
- preemptible Cloud TPU v2-8 device(s) in zone us-central1-f
gcloud compute tpus tpu-vm create node-01 \ --zone=us-central1-f \ --accelerator-type=v2-8 \ --version=tpu-ubuntu2204-base \ --preemptible - preemptible Cloud TPU v4 chips in zone us-central2-b
gcloud compute tpus tpu-vm create node-02 \ --zone=us-central2-b \ --accelerator-type=v4-8 \ --version=tpu-ubuntu2204-base \ --preemptible - on-demand Cloud TPU v4 chips in zone us-central2-b
gcloud compute tpus tpu-vm create node-03 \ --zone=us-central2-b \ --accelerator-type=v4-8 \ --version=tpu-ubuntu2204-base - preemptible Cloud TPU v3-8 device(s) in zone europe-west4-a
gcloud compute tpus tpu-vm create node-04 \
--zone=europe-west4-a \
--accelerator-type=v3-8 \
--version=tpu-ubuntu2204-base \
--preemptible
Queued resources
If you can’t create a TPU instance, try queued-resources command. Your request will be queued. When the requested resource becomes available, it’s assigned to your Google Cloud project.
- create queued-resources
gcloud compute tpus queued-resources create queued-resource-1 \ --node-id node-02 \ --project applied-algebra-426622-k2 \ --zone us-central2-b \ --accelerator-type v4-8 \ --runtime-version tpu-ubuntu2204-base - delete queued-resources
gcloud compute tpus queued-resources delete queued-resource-1 \
--project applied-algebra-426622-k2 \
--zone us-central2-b \
--force \
--async
Install JAX
You can install jax by typing in this command in your VM terminal:
pip install jax[tpu] -f https://storage.googleapis.com/jax-releases/libtpu_releases.html
Verify that JAX can access the TPU and can run basic operations:
python3
import jax
Display the number of TPU cores available:
jax.device_count()
The number of TPU cores is displayed. If you are using a v4 TPU, this should be 4. If you are using a v2 or v3 TPU, this should be 8.
Now let’s perform a simple calculation:
jax.numpy.add(1, 1)
the result should look like this:
Array(2, dtype=int32, weak_type=True)
exit the Python interpreter:
exit()
Install Flax and other dependencies
Flax is a deep learning library that runs on top of jax. It provides the modules needed to build neural nets such as: layers and activation functions.
Install Flax examples dependencies:
pip install --upgrade clu
pip install tensorflow
pip install tensorflow_datasets
Install Flax:
git clone https://github.com/google/flax.git
pip install --user flax
Enter MNIST directory under Flax examples:
cd flax/examples/mnist
Now, run MNIST training script. We’re going to change the learning_rate and num_epochs values. For all other parameters, we’re going to keep the default values.
python3 main.py --workdir=/tmp/mnist \
--config=configs/default.py \
--config.learning_rate=0.05 \
--config.num_epochs=5
Here’s the output that I got:
Dataset mnist downloaded and prepared to /home/mashaan14/tensorflow_datasets/mnist/3.0.1. Subsequent calls will reuse this data.
I1014 06:09:03.087158 140267020089344 reader.py:261] Creating a tf.data.Dataset reading 1 files located in folders: /home/mashaan14/tensorflow_datasets/mnist/3.0.1.
I1014 06:09:03.954036 140267020089344 logging_logger.py:49] Constructing tf.data.Dataset mnist for split train, from /home/mashaan14/tensorflow_datasets/mnist/3.0.1
I1014 06:09:03.956372 140267020089344 reader.py:261] Creating a tf.data.Dataset reading 1 files located in folders: /home/mashaan14/tensorflow_datasets/mnist/3.0.1.
I1014 06:09:04.176692 140267020089344 logging_logger.py:49] Constructing tf.data.Dataset mnist for split test, from /home/mashaan14/tensorflow_datasets/mnist/3.0.1
I1014 06:09:34.030429 140267020089344 train.py:148] epoch:  1, train_loss: 0.2423, train_accuracy: 92.98, test_loss: 0.0624, test_accuracy: 97.92
I1014 06:09:35.269972 140267020089344 train.py:148] epoch:  2, train_loss: 0.0592, train_accuracy: 98.17, test_loss: 0.0405, test_accuracy: 98.71
I1014 06:09:36.462106 140267020089344 train.py:148] epoch:  3, train_loss: 0.0421, train_accuracy: 98.71, test_loss: 0.0308, test_accuracy: 98.98
I1014 06:09:37.654134 140267020089344 train.py:148] epoch:  4, train_loss: 0.0308, train_accuracy: 99.08, test_loss: 0.0273, test_accuracy: 99.14
I1014 06:09:38.855965 140267020089344 train.py:148] epoch:  5, train_loss: 0.0252, train_accuracy: 99.23, test_loss: 0.0272, test_accuracy: 99.21
The training accuracy started at 92.98 and reached 99.23 at the $5^{th}$ epoch.
Install PyTorch/XLA
Install PyTorch/XLA using the following command:
pip install torch~=2.4.0 torch_xla[tpu]~=2.4.0 torchvision -f https://storage.googleapis.com/libtpu-releases/index.html
Ensure that the PyTorch/XLA runtime uses the TPU.
export PJRT_DEVICE=TPU
Create a file named tpu-test.py on your local machine, and paste the following script into it.
import torch
import torch_xla.core.xla_model as xm

dev = xm.xla_device()
t1 = torch.randn(3,3,device=dev)
t2 = torch.randn(3,3,device=dev)
print(t1)
print(t2)
print(t1 + t2)
Upload tpu-test.py to your TPU VM using (upload file) button on the top right corner in your terminal. Then run it using this command:
python3 tpu-test.py
I got the following output:
WARNING:root:PJRT is now the default runtime. For more information, see https://github.com/pytorch/xla/blob/master/docs/pjrt.md
WARNING:root:libtpu.so and TPU device found. Setting PJRT_DEVICE=TPU.
tensor([[-2.1709,  0.8687, -0.4139],
        [-0.4169, -2.6102, -1.1311],
        [ 1.7698,  0.3981, -1.6594]], device='xla:0')
Projects Where I Used TPU Research Cloud (TRC)
| Video | Code | Title |
|---|---|---|
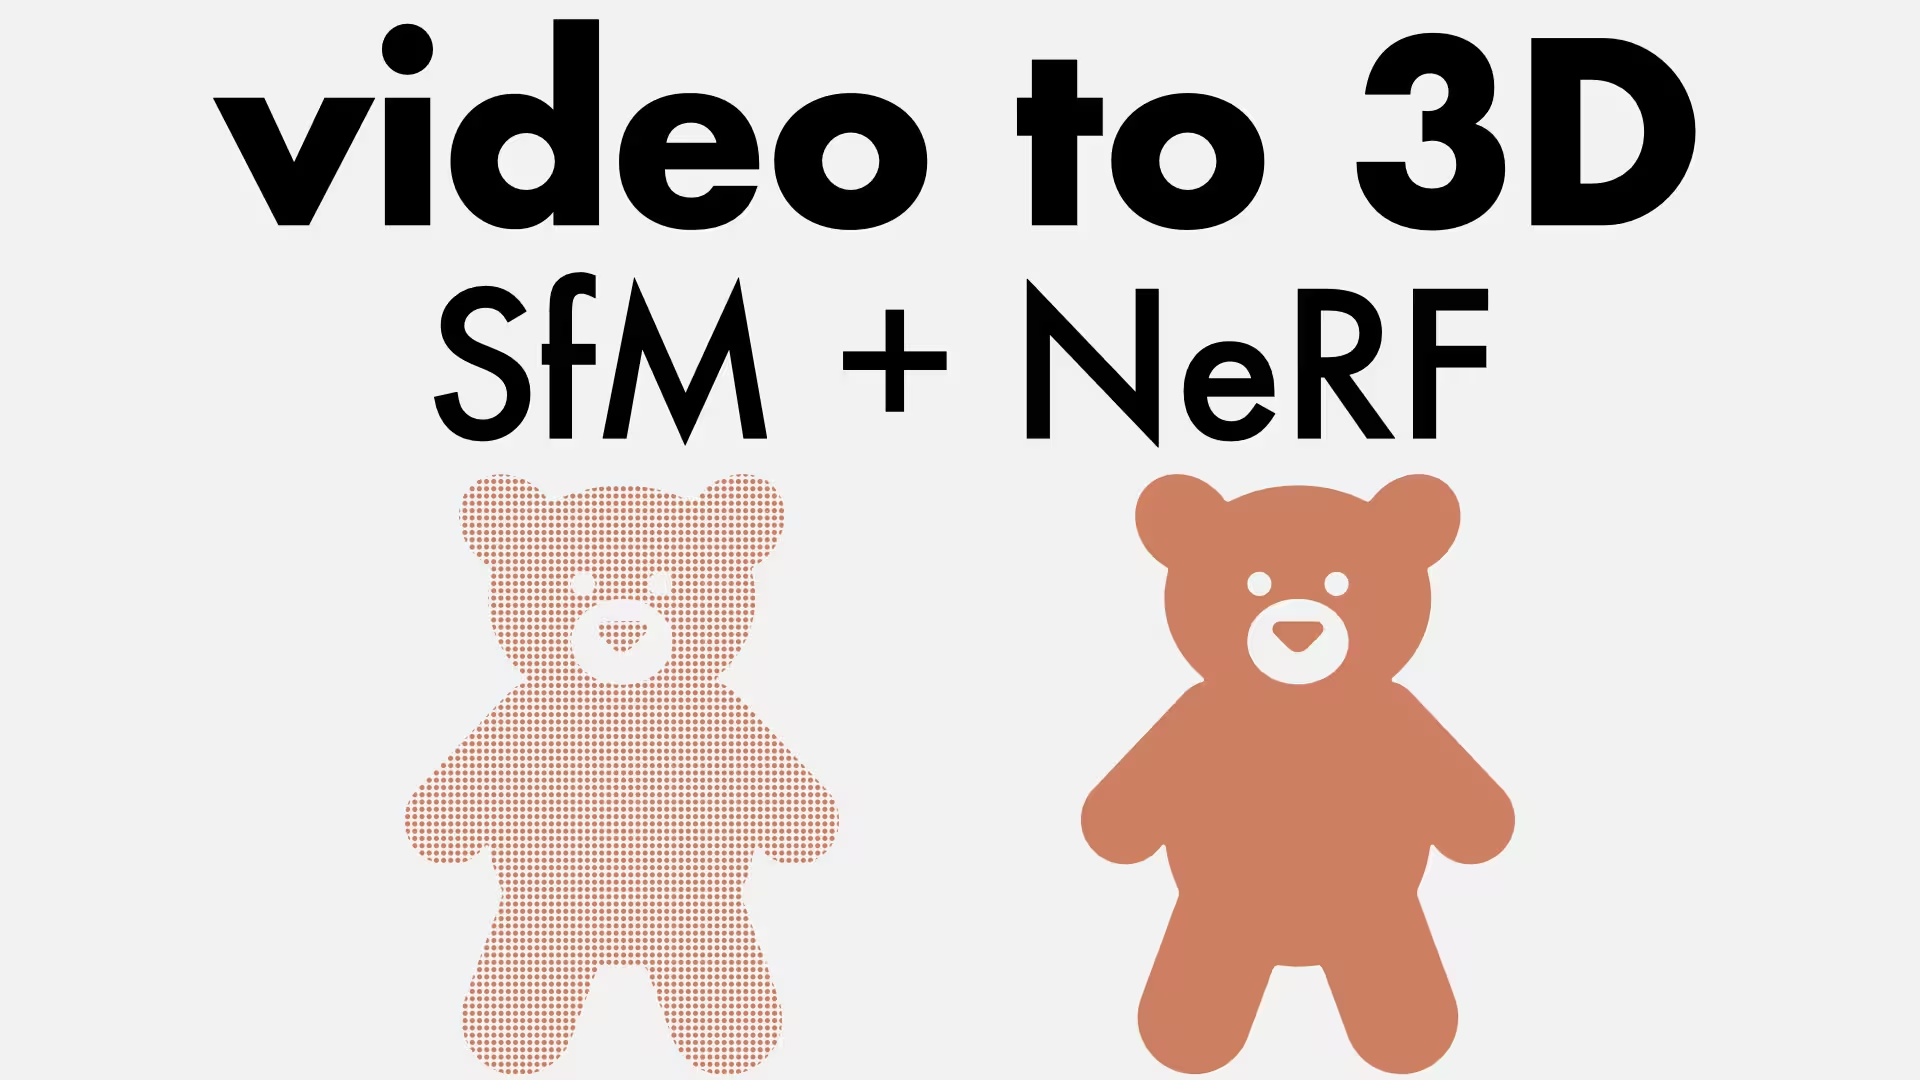 |
code | VGG-SfM and Mip-NeRF 360 Pipeline for iPhone Video 3D Reconstruction |
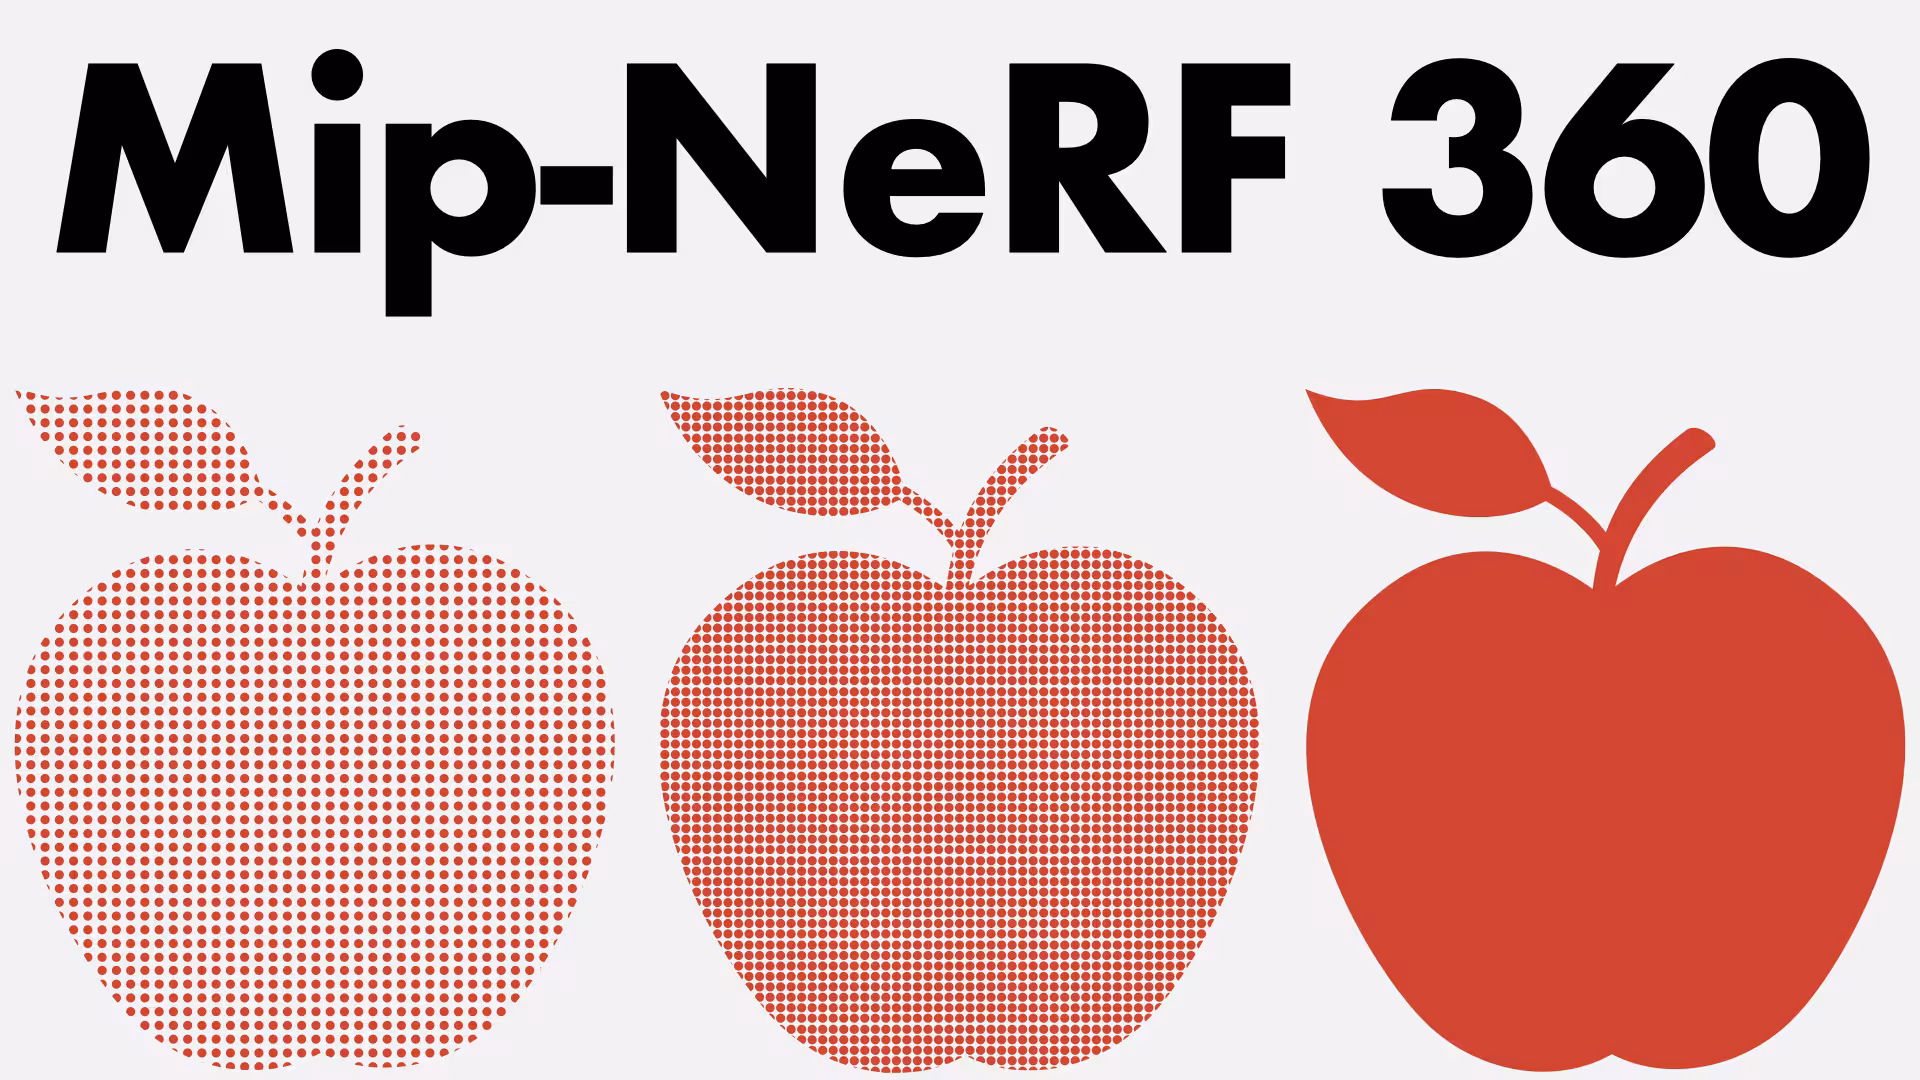 |
code | Exploring Mip-NeRF 360: A Quick TPU Experiment |
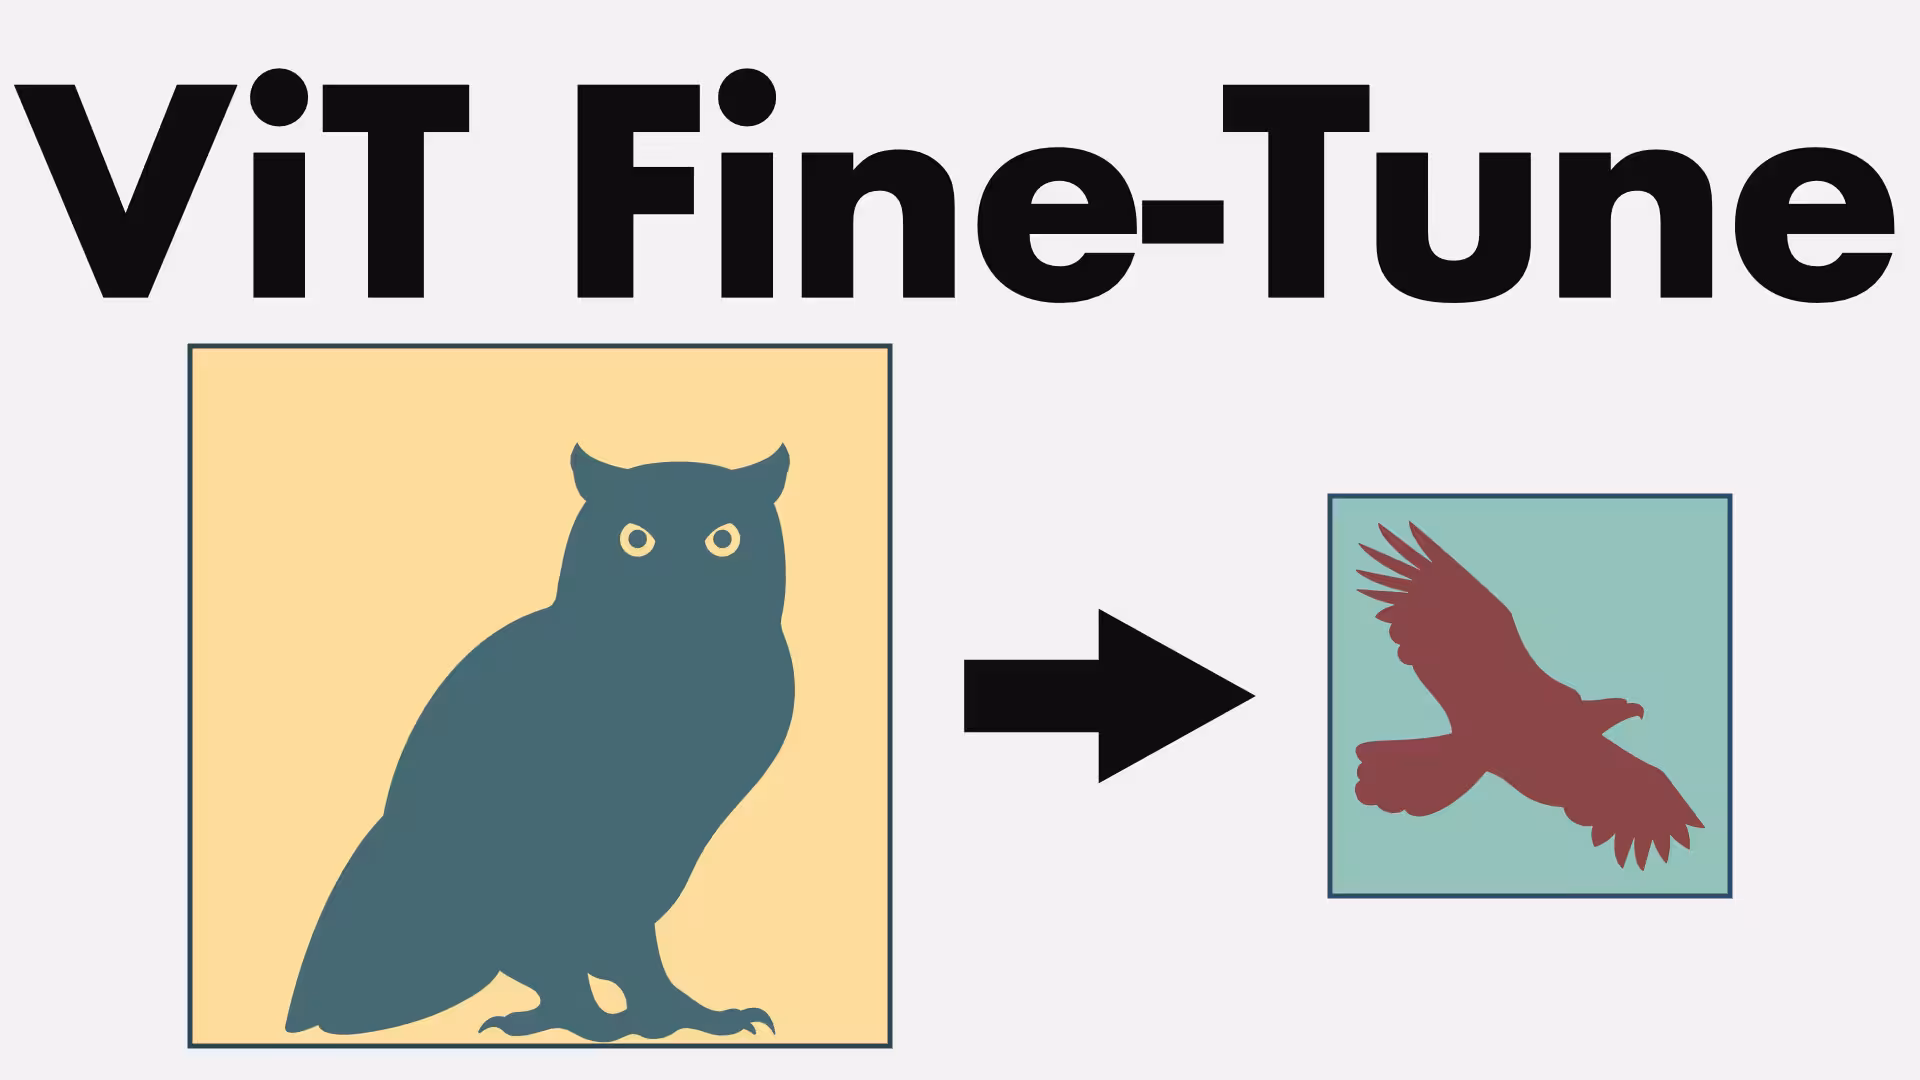 |
code | Fine-tuning Vision Transformers on TPU (ImageNet/CIFAR-10) |